How to paint your brake calipers
UPDATE: This Blog is no longer active as of 10/22/06.
First, remove the caliper from your vehicle. A good time to do this is when you replace your stock brake lines with stainless steel braided ones, since you will already have to bleed the brakes anyways.
Put something in the hole on the back where the line connects. I used a nut with tape wrapped around the thread a few times to get a snug fit. You don't want any thing getting inside your caliper.
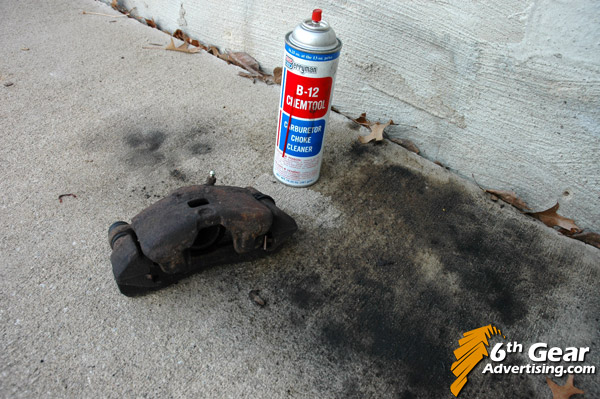
Hose them down with come brake cleaner or something similar. (I had a can of carb cleaner, also works)
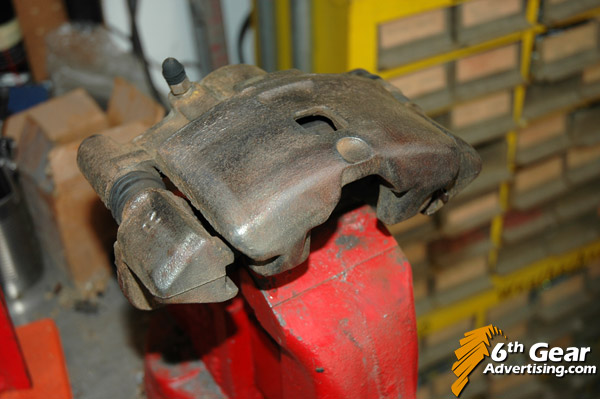
If your calipers are 14 years old like mine, they probably still looked like crap rolled in rust chips. There was still surface rust all over that needed to be removed. This is done with a wire brush. You can spend hours scrubbing them with a wire brush, or get a small wire wheel and put it on a drill and be done in 20 minutes.
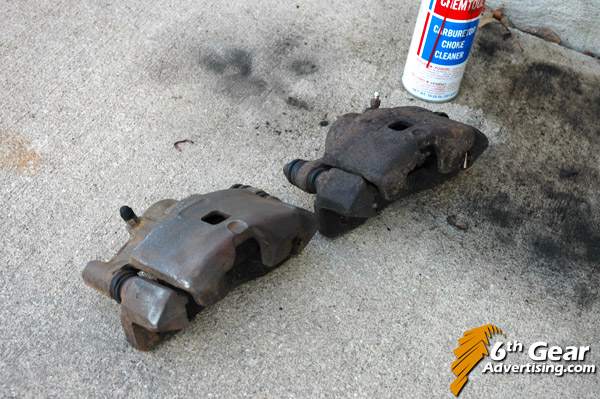
After you grind them with the wire wheel, they will still be brown, but have a slight shine to them. This is good. Take them out side for another cleaning to remove all the dust and any missed grime.
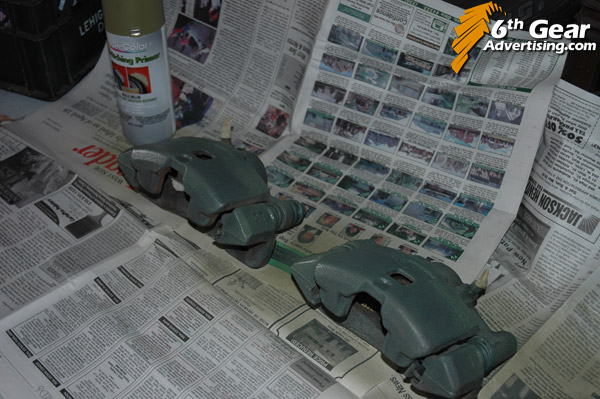
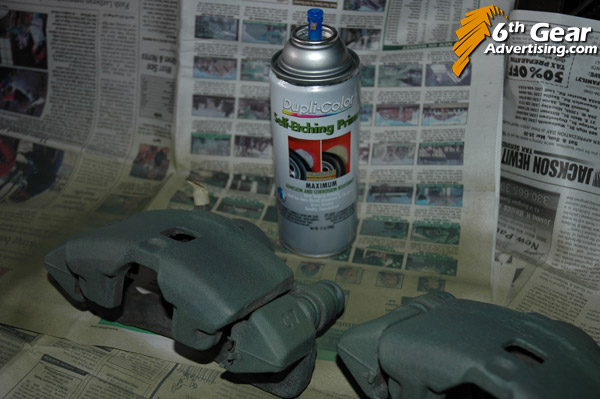
Then keep them free from grease/dirt and use some Self Etching Primer on them in a few light coats. This will help the paint adhere to the metal. Notice I got lazy and did not tape off the rubber boots. The paint will not stick to the rubber and will fall off over time.
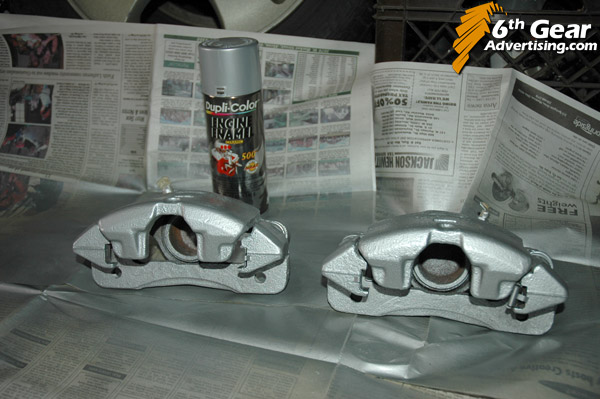
Next paint with your color of choice. Do be sure to use Engine Enamel though, it is made for high temperatures with ceramic in the paint. The 500° will work fine. (The 1200° is a little more expensive, but meant for exhaust.)
Follow the drying directions on the can, waiting about 10 mins in between coats. Waiting too long will allow the Enamel paint to cure and then you'll have to wait a really long time (5 days) before you can add a coat. I put on about 5 thin coats. Then I put on a couple more coats with a clear engine enamel for added protection.
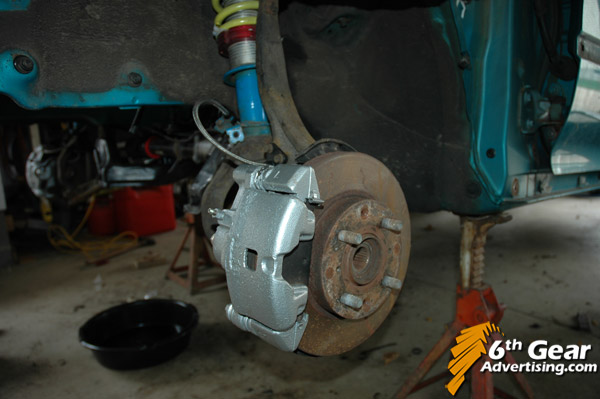
After I got them done, I noticed I should have removed those little clips that hold on the brake pads.... oh well, as long as those clips are there, you won't see the bare spots behind them.
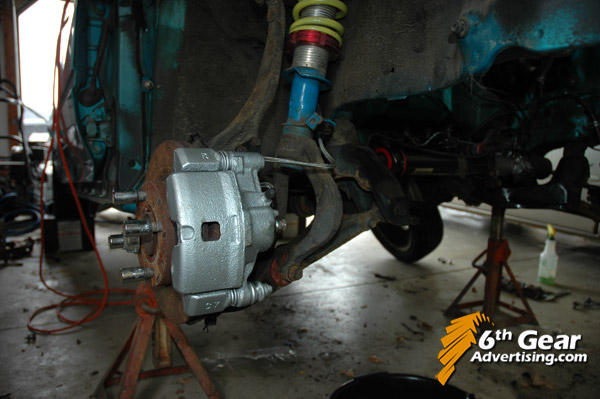
And the final product behind the beater rims:
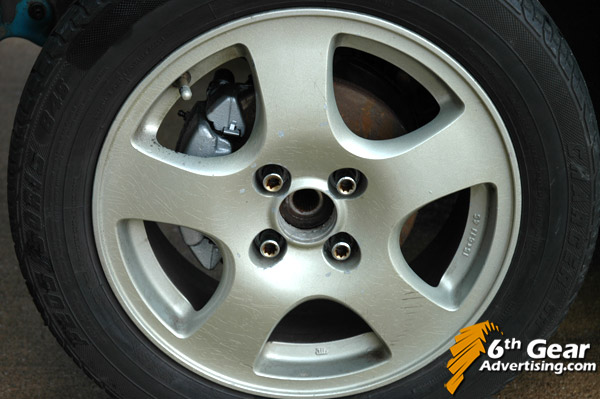
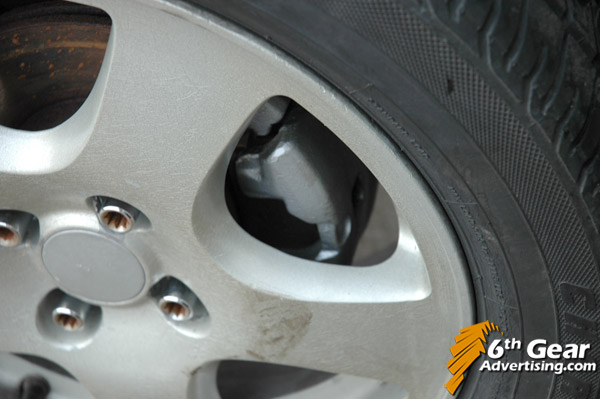
Be sure to avoid getting any brake fluid on them after painting, that stuff will take the paint off almost like a paint stripper.
I found that a forum was much more useful in allowing viewers to ask questions, as well as post their own advice and images. On September 30, 2006, I launched www.Civic-EG.com [a forum dedicated to the 92-95 civic]

There's lots of how-to articles with pictures, members' rides, an interactive online wheel viewer for Civics and Del Sol, Classifieds section, Local area shows & events, and More! All future updates to my car can be seen at www.Civic-EG.com

_______________________________________________________
original article:
First, remove the caliper from your vehicle. A good time to do this is when you replace your stock brake lines with stainless steel braided ones, since you will already have to bleed the brakes anyways.
Put something in the hole on the back where the line connects. I used a nut with tape wrapped around the thread a few times to get a snug fit. You don't want any thing getting inside your caliper.
Hose them down with come brake cleaner or something similar. (I had a can of carb cleaner, also works)
If your calipers are 14 years old like mine, they probably still looked like crap rolled in rust chips. There was still surface rust all over that needed to be removed. This is done with a wire brush. You can spend hours scrubbing them with a wire brush, or get a small wire wheel and put it on a drill and be done in 20 minutes.
After you grind them with the wire wheel, they will still be brown, but have a slight shine to them. This is good. Take them out side for another cleaning to remove all the dust and any missed grime.
Then keep them free from grease/dirt and use some Self Etching Primer on them in a few light coats. This will help the paint adhere to the metal. Notice I got lazy and did not tape off the rubber boots. The paint will not stick to the rubber and will fall off over time.
Next paint with your color of choice. Do be sure to use Engine Enamel though, it is made for high temperatures with ceramic in the paint. The 500° will work fine. (The 1200° is a little more expensive, but meant for exhaust.)
Follow the drying directions on the can, waiting about 10 mins in between coats. Waiting too long will allow the Enamel paint to cure and then you'll have to wait a really long time (5 days) before you can add a coat. I put on about 5 thin coats. Then I put on a couple more coats with a clear engine enamel for added protection.
After I got them done, I noticed I should have removed those little clips that hold on the brake pads.... oh well, as long as those clips are there, you won't see the bare spots behind them.
And the final product behind the beater rims:
Be sure to avoid getting any brake fluid on them after painting, that stuff will take the paint off almost like a paint stripper.
posted by Brian at
6:43 PM
![]()
![]()


1 Comments:
Terrific work! This is the type of information that should be shared around the web. Shame on the search engines for not positioning this post higher!
By Anonymous, at 12:48 AM
Post a Comment
<< Home