How to spray paint on a budget
UPDATE: This Blog is no longer active as of 10/22/06.
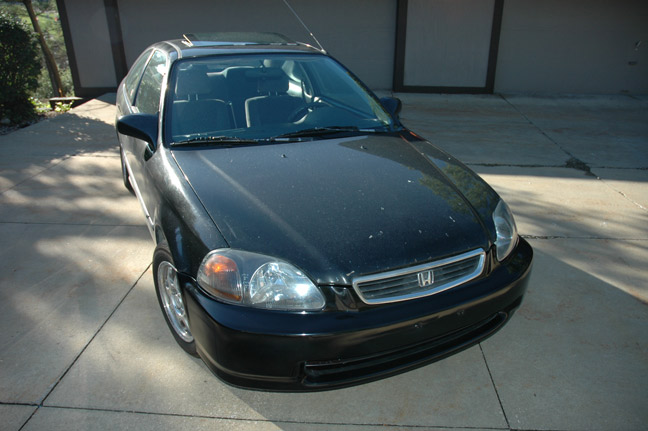
You may not want to try this on your show car, but for something like a daily driver or especially a beater... read on! Although I used my 96 hx for this project, I included this info since it can be applied to all cars.
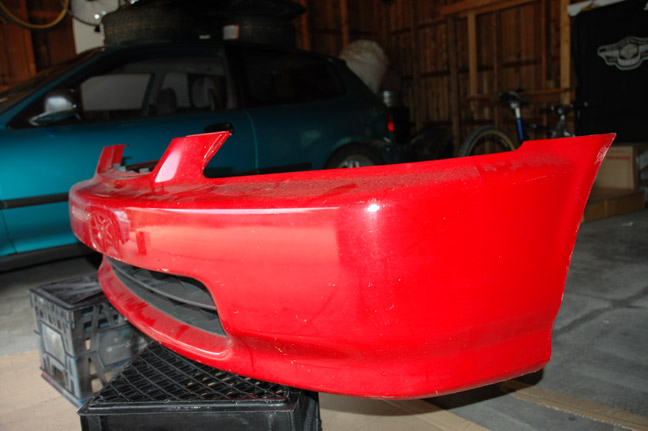
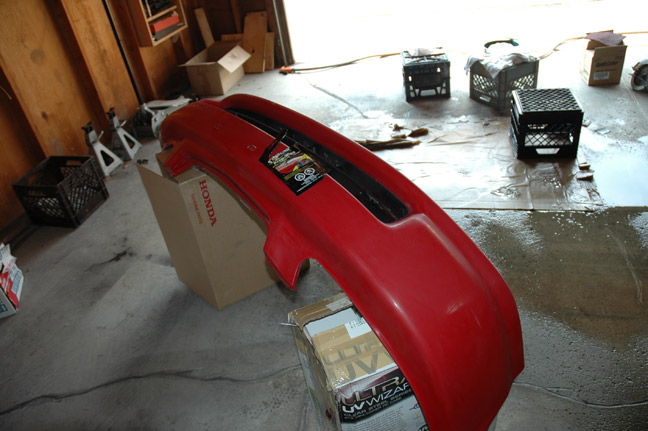
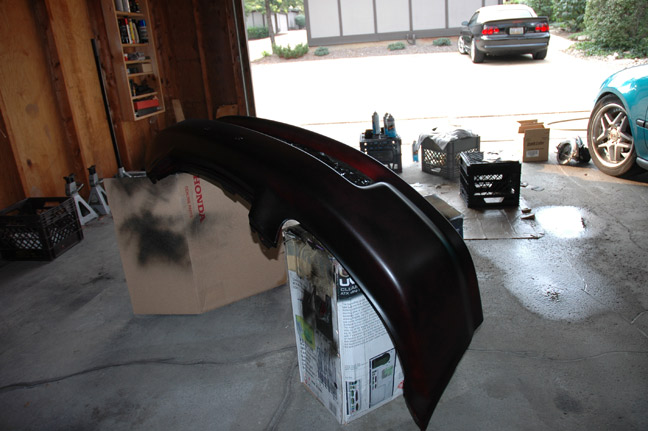
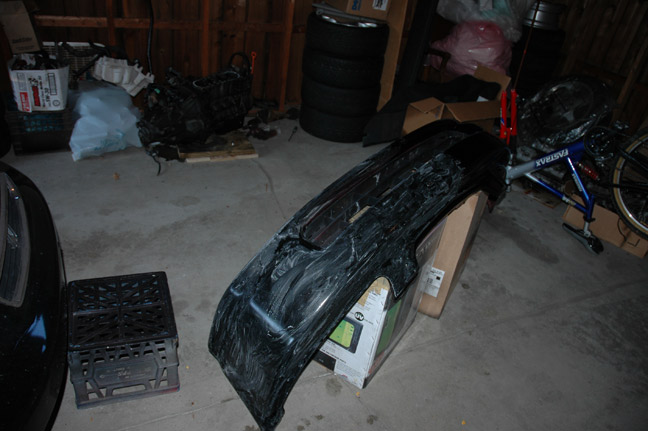
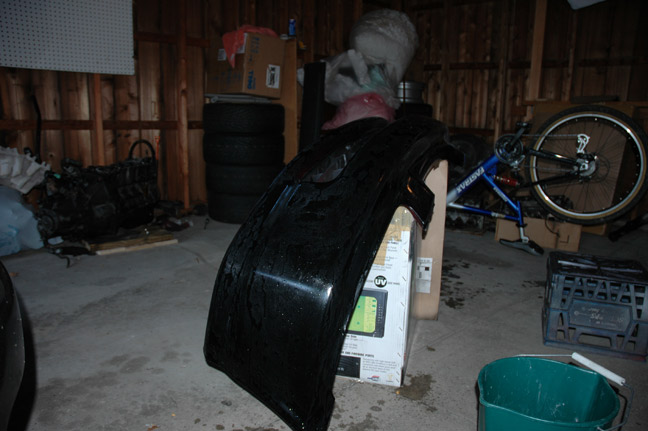
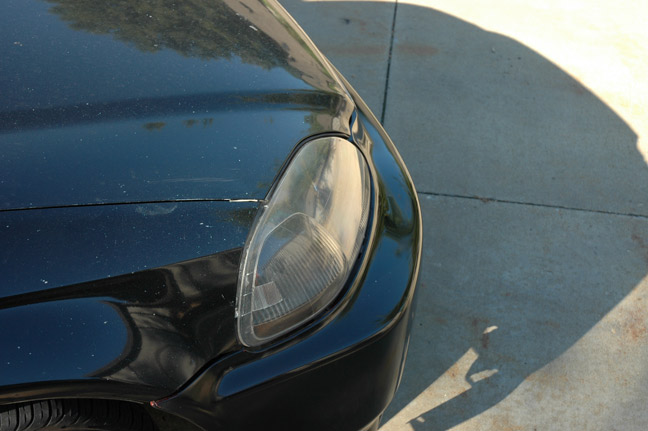
Here we have a used plastic bumper that has already been red repainted at least once since it came from the factory.

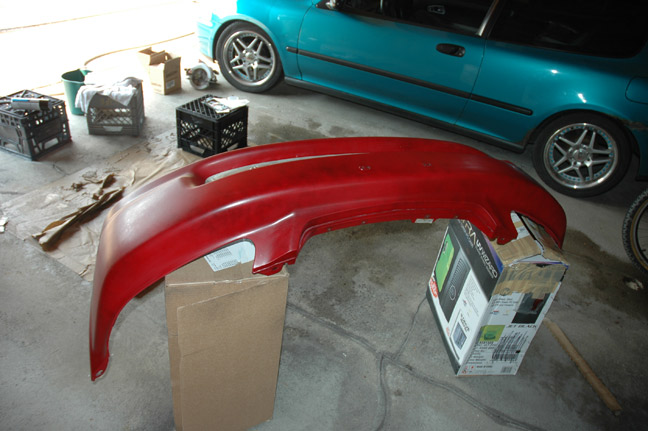
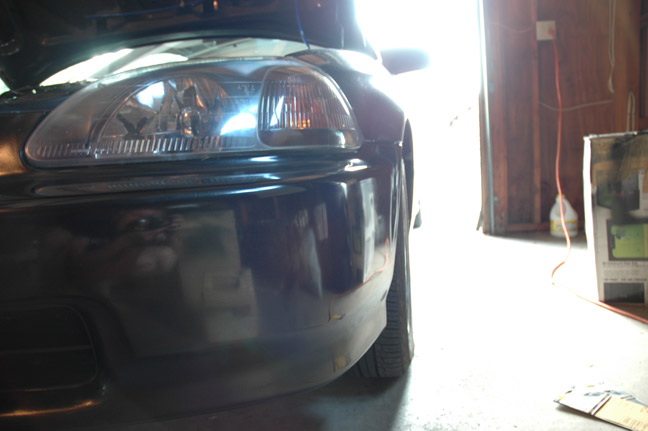
Here we have the one that was on the car when I bought it. Yep, nice and crappy.
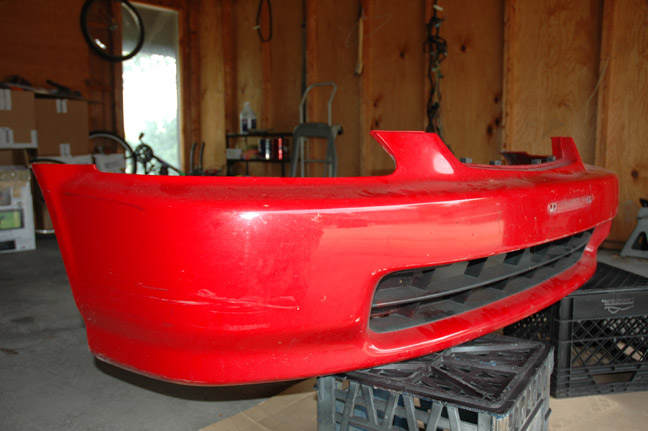
When it comes to Plastic, it is easier to leave the existing paint on and paint over. Getting paint to bond with plastic can be tricky and the factory does a great job at it.
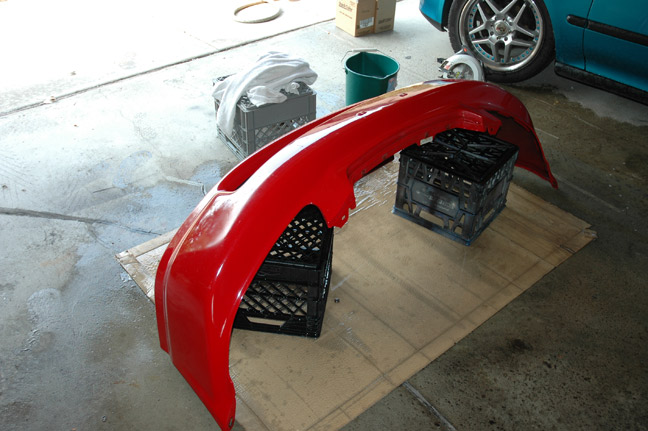
You're going to want to have a hose, bucket of soapy water & sponge, and some 600 grit wet sand paper ready. First thing is to get all the dirt off, a good wash is always first so you're not sanding dirt into the paint.
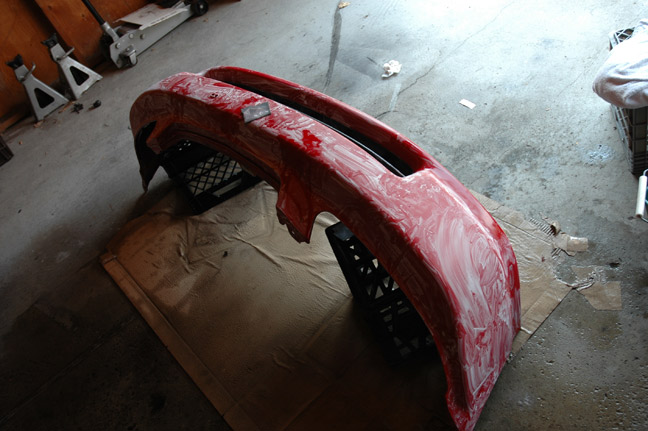
Once it is washed, het the 600 grit and wet sand everywhere you plan on painting. The 600 grit paper will give the new paint something to bite to.
Wash again and it should be nice and dull. Next let it dry and prep the surface. Getting the surface ready to paint is the most important...
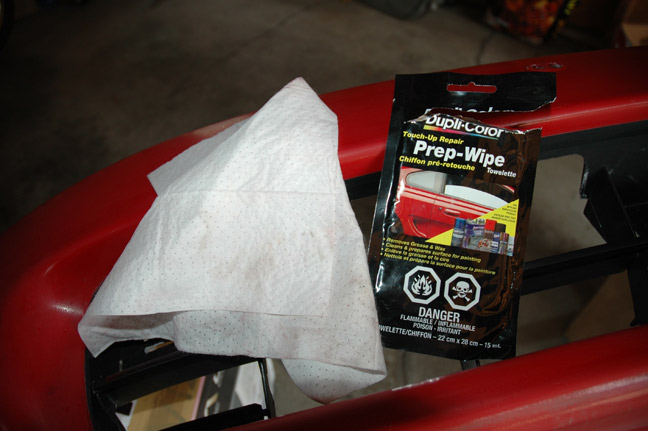
I used one of these handy Prep-Wipes, it is a pre soaked lent free cloth with wax/grease remover. It will remove any remaining wax/grease and it will evaporate on the bumper so no need to wash again after.
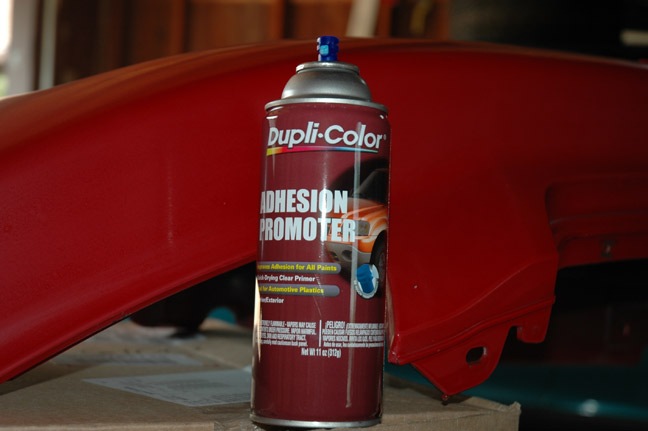
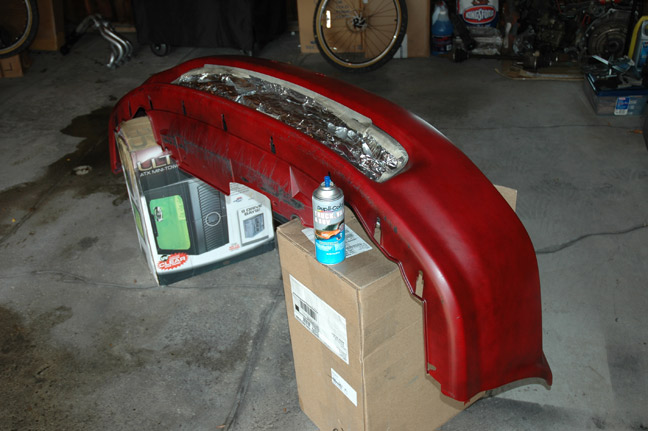
Very Important step, Adhesion Promoter! This will help big time to get the paint to bond to the surface, allowing the bumper to flex w/o the paint cracking. This is good stuff, I use it for all my DIY paint projects!
It sprays on clear, all you need is just a couple light coats.
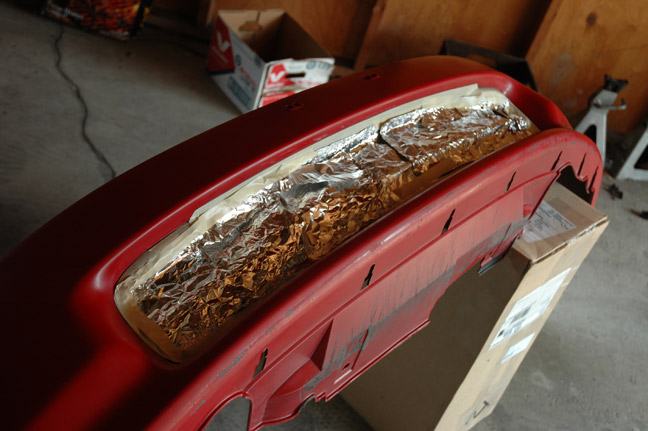
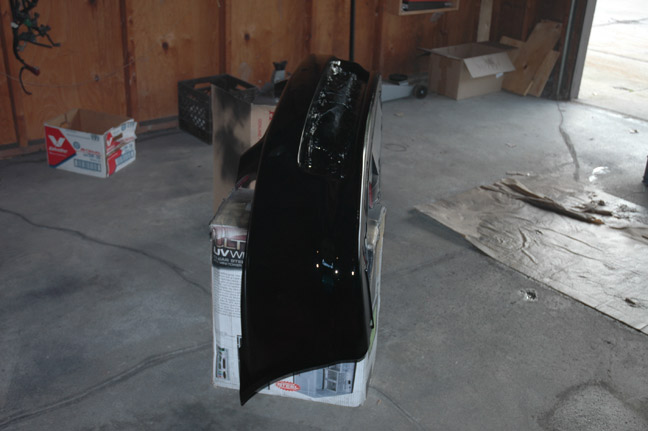
Ok time to mask off what you don't want painted, masking tape & newspaper are all you need, or foil if you were out of newspaper like me.
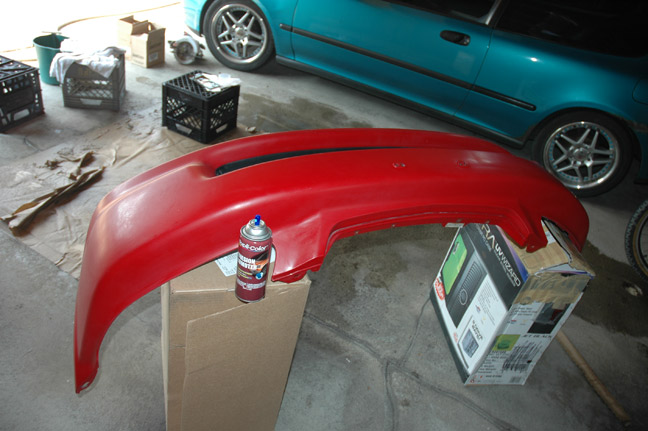
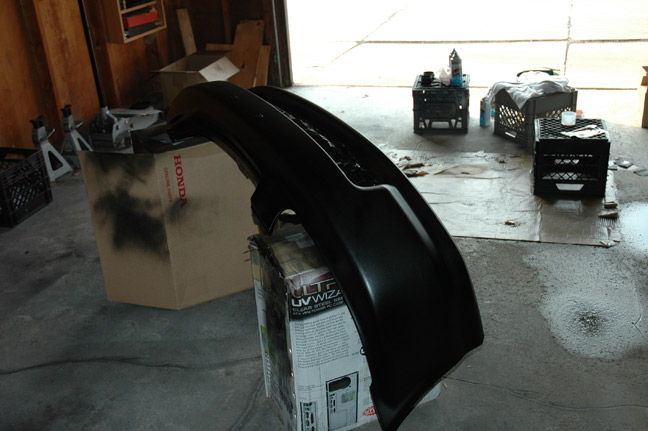
The most important thing when painting is to use LIGHT COATS. you can always apply more light coats, but a run in the paint from too thick a coat will only make much more work for you. This was one coat. Lighter coats only need a few minutes tops to dry between coats.
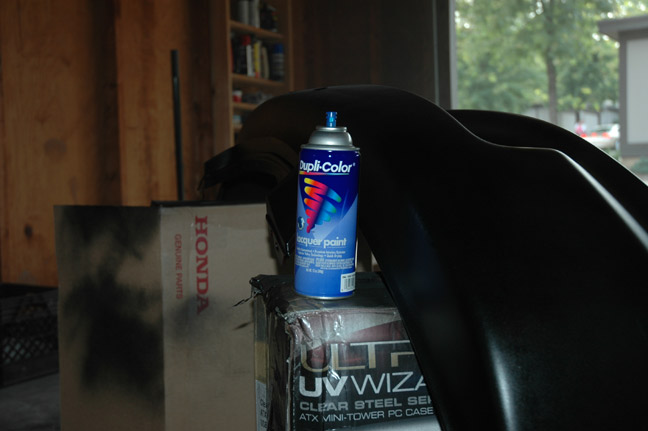
Second Coat. Also, notice the blue nozzle on the paint can... It is called Danvern nozzle and sprays in a finer more controlled mist then normal aerosol cans. http://duplicolor.com/products/nozzles.html
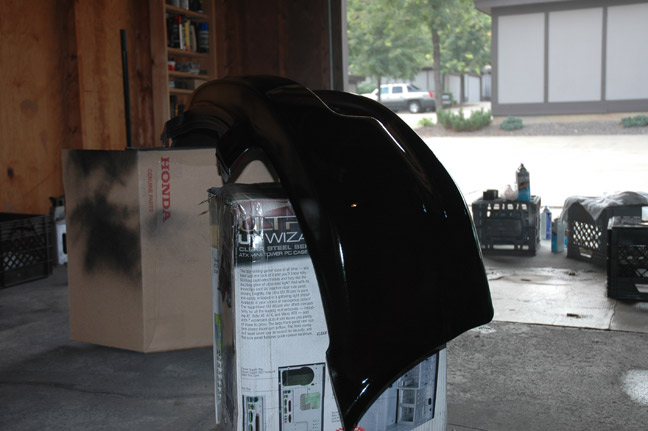
many coats later....

getting there...
almost... light coats take time but get the job done right.
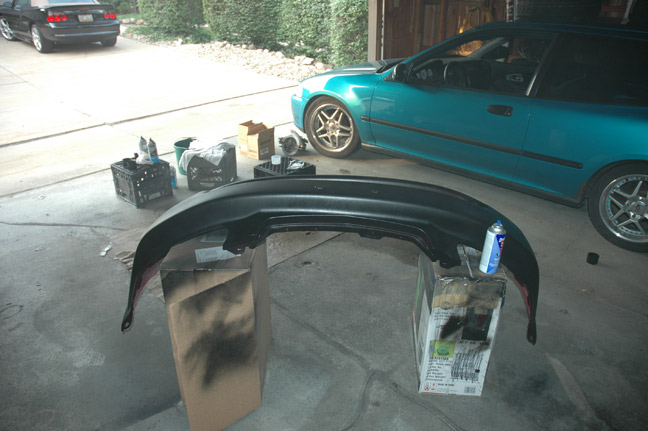
Finally! total was about 2.5 or 3 cans.
Now it is time for the clear coat. I went with a Lacquer clear since I used Lacquer based paint for the color.
You can use an Enamel based paint on top of a Lacquer. But using a Lacquer paint on top of Enamel will cause the paint to wrinkle and you will have to strip it all off and start over. So pay attention to what type of paint you are buying.
Once again, light coats.
A while later...
And the finished product! I used almost 2 cans of Clear.
Now let it dry. How long will all depend on temperature, humidity, and how thick your coats were. In general you want to be doing this on a nice day w/ low humidity. Be careful painting too late in the evening because dew will start to form on things.
I let it sit for a few days. Now it is fully cured and time for more wet sanding.
I started off with some 1500 since my paint was already pretty smooth. If you have runs you will want to sand them down with something lower and work your way up.
After the 1500 I did 2000 grit and gave it a wash.

Now it should be a nice dull color with a hint of a shine. You're ready to buff!
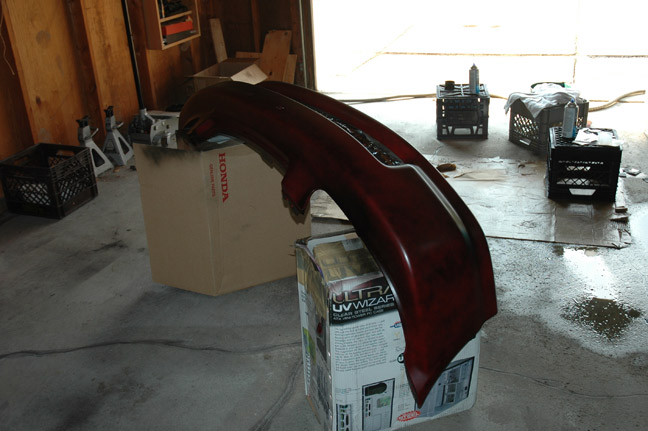
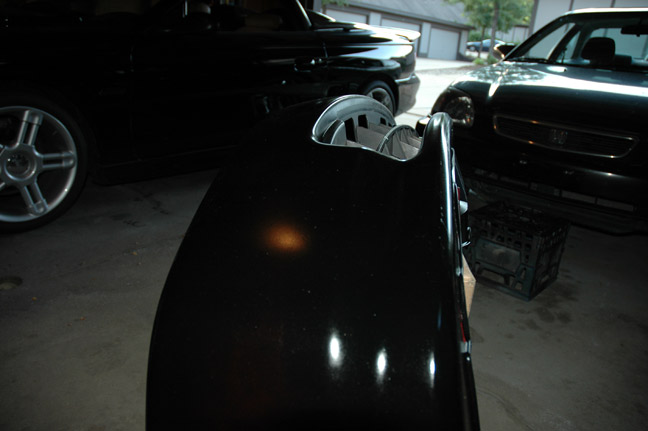
For buffing, I put it on the car so it wouldn't be flopping all over the place. Made life much easier. Here you can see the top & edge getting glossy.
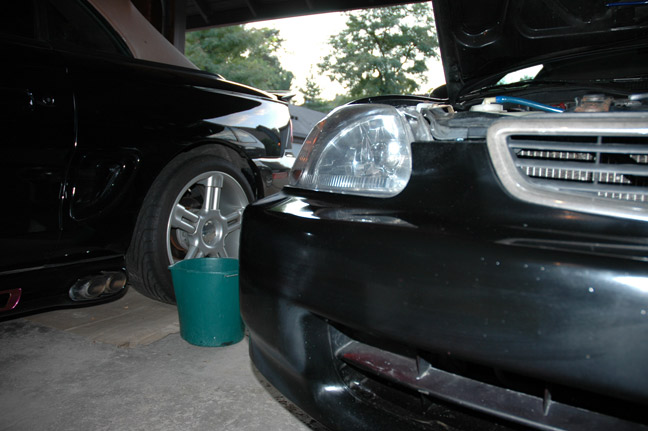
Here too. The small areas like in the lower lip area I just used a terry cloth w/ some of the buffing compound and did it by hand.
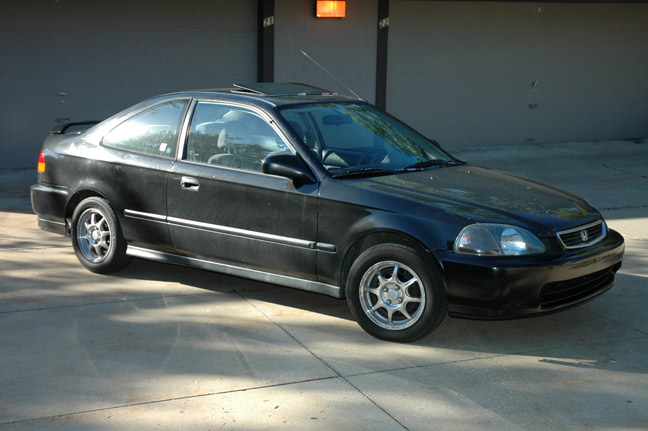
All Done!
It actually looks better then the hood & fenders, maybe I should do those next....
Don't wax the paint right away, wait at least a couple weeks for it to fully cure.
If you are painting something fiberglass such as a wing, you will want to be sure the gelcoat on the fiberglass is smooth first, then coat it with some primer. You can get aerosol primer where ever you buy your aerosol paint from. Just be sure that you dont rush the prep work or everything after will have to be re-done.
I already had all of the paint & sand paper, but if you want to guess how much your project will cost, figure a few bucks for each can. Also I used the "Truck, Van, Suv" cans because they are full size (11 oz.) and I had a lot to paint. They sell "Auto Spray" cans but they are smaller, about 5 ounces. Also they don't make every color for every vehicle (teal being one of them ) so check HERE to see if they have an exact color match for your vehicle's paint code.
And remember to paint in a well ventilated area!
I found that a forum was much more useful in allowing viewers to ask questions, as well as post their own advice and images. On September 30, 2006, I launched www.Civic-EG.com [a forum dedicated to the 92-95 civic]

There's lots of how-to articles with pictures, members' rides, an interactive online wheel viewer for Civics and Del Sol, Classifieds section, Local area shows & events, and More! All future updates to my car can be seen at www.Civic-EG.com
_______________________________________________________
original article:
You may not want to try this on your show car, but for something like a daily driver or especially a beater... read on! Although I used my 96 hx for this project, I included this info since it can be applied to all cars.
Here we have a used plastic bumper that has already been red repainted at least once since it came from the factory.
Here we have the one that was on the car when I bought it. Yep, nice and crappy.
When it comes to Plastic, it is easier to leave the existing paint on and paint over. Getting paint to bond with plastic can be tricky and the factory does a great job at it.
You're going to want to have a hose, bucket of soapy water & sponge, and some 600 grit wet sand paper ready. First thing is to get all the dirt off, a good wash is always first so you're not sanding dirt into the paint.
Once it is washed, het the 600 grit and wet sand everywhere you plan on painting. The 600 grit paper will give the new paint something to bite to.
Wash again and it should be nice and dull. Next let it dry and prep the surface. Getting the surface ready to paint is the most important...
I used one of these handy Prep-Wipes, it is a pre soaked lent free cloth with wax/grease remover. It will remove any remaining wax/grease and it will evaporate on the bumper so no need to wash again after.
Very Important step, Adhesion Promoter! This will help big time to get the paint to bond to the surface, allowing the bumper to flex w/o the paint cracking. This is good stuff, I use it for all my DIY paint projects!
It sprays on clear, all you need is just a couple light coats.
Ok time to mask off what you don't want painted, masking tape & newspaper are all you need, or foil if you were out of newspaper like me.
The most important thing when painting is to use LIGHT COATS. you can always apply more light coats, but a run in the paint from too thick a coat will only make much more work for you. This was one coat. Lighter coats only need a few minutes tops to dry between coats.
Second Coat. Also, notice the blue nozzle on the paint can... It is called Danvern nozzle and sprays in a finer more controlled mist then normal aerosol cans. http://duplicolor.com/products/nozzles.html
many coats later....
getting there...
almost... light coats take time but get the job done right.
Finally! total was about 2.5 or 3 cans.
Now it is time for the clear coat. I went with a Lacquer clear since I used Lacquer based paint for the color.
You can use an Enamel based paint on top of a Lacquer. But using a Lacquer paint on top of Enamel will cause the paint to wrinkle and you will have to strip it all off and start over. So pay attention to what type of paint you are buying.
Once again, light coats.
A while later...
And the finished product! I used almost 2 cans of Clear.
Now let it dry. How long will all depend on temperature, humidity, and how thick your coats were. In general you want to be doing this on a nice day w/ low humidity. Be careful painting too late in the evening because dew will start to form on things.
I let it sit for a few days. Now it is fully cured and time for more wet sanding.
I started off with some 1500 since my paint was already pretty smooth. If you have runs you will want to sand them down with something lower and work your way up.
After the 1500 I did 2000 grit and gave it a wash.
Now it should be a nice dull color with a hint of a shine. You're ready to buff!
For buffing, I put it on the car so it wouldn't be flopping all over the place. Made life much easier. Here you can see the top & edge getting glossy.
Here too. The small areas like in the lower lip area I just used a terry cloth w/ some of the buffing compound and did it by hand.
All Done!
It actually looks better then the hood & fenders, maybe I should do those next....
Don't wax the paint right away, wait at least a couple weeks for it to fully cure.
If you are painting something fiberglass such as a wing, you will want to be sure the gelcoat on the fiberglass is smooth first, then coat it with some primer. You can get aerosol primer where ever you buy your aerosol paint from. Just be sure that you dont rush the prep work or everything after will have to be re-done.
I already had all of the paint & sand paper, but if you want to guess how much your project will cost, figure a few bucks for each can. Also I used the "Truck, Van, Suv" cans because they are full size (11 oz.) and I had a lot to paint. They sell "Auto Spray" cans but they are smaller, about 5 ounces. Also they don't make every color for every vehicle (teal being one of them ) so check HERE to see if they have an exact color match for your vehicle's paint code.
And remember to paint in a well ventilated area!
posted by Brian at
6:51 PM
![]()
![]()


19 Comments:
Did you use the Lacquer paint first or the Enamel first? Thanks! I'm looking to paint my hood this weekend.
By Anonymous, at 8:45 PM
I did not use any enamel, I used lacquer paint for the black and lacquer again for the clear. mixing lacquer + enamel can lead to problems.
By Brian, at 1:46 PM
did you use any primer? I thought the primer would go after the adhesion promoter
By Anonymous, at 8:41 PM
Thats The Best Job i have ever seen For a Comedy Panel Show LOL Get Your can out And Spray Where You Missed Thanx For The Laugh Clown !!!!!!!
By Anonymous, at 1:50 AM
Just wondering whats the point of wet sanding after the clear if its already shiny, what does the wet sanding do just make it smoother?
By Anonymous, at 8:08 PM
ha, I will experiment my thought, your post give me some good ideas, it's really awesome, thanks.
- Norman
By Anonymous, at 2:03 AM
Hi forum, cool weather and good mood. life is a good thing however turn
By Anonymous, at 2:50 AM
Very enlightening and beneficial to someone whose been out of the circuit for a long time.
- Kris
By Anonymous, at 1:29 PM
Hi, today is a beautiful day in my life. I saw a first snow in this year and I save this photo for all people in the World!
By Anonymous, at 3:47 AM
Друзья ! Меня уволили с работы… Который делать незнаю. Не могли бы вы дать мне скольконибудь советов ?
By Anonymous, at 1:04 AM
Great site. A lot of useful information here. I’m sending it to some friends!
By Anonymous, at 10:56 AM
Did you sand the basecoat before spraying on the clear coat?
By Anonymous, at 7:12 PM
What did you use to buffer the bumper?
By Anonymous, at 8:13 PM
I have had such trouble finding a product for my wavy/curly hair. I have tried everything, and
while some products worked fine, Moroccan Oil is the best. It works in all climates, which is great for me since I travel a lot. I live mostly in a humid costal climate, and my hair doesn't frizz ar fall
flat since I started using this product. I love it!
By Anonymous, at 5:59 PM
I have had such trouble finding a product for my wavy/curly hair. I have tried everything, and
while some products worked fine, Moroccan Oil is the best. It works in all climates, which is great for me since I travel a lot. I live mostly in a humid costal climate, and my hair doesn't frizz ar fall
flat since I started using this product. I love it!
By Anonymous, at 2:41 PM
I have thick naturally curly hair. I think the smell is too strong & more age appropriate for someone older but finding a product that
has everything good/ideal has been impossible. Quite expensive so if you can get a deal then it's worth it.
By Anonymous, at 4:59 PM
I am an African American woman with naturally kinky/coarse hair. I decided to stop using
relaxers over a year ago, furthermore straightening my hair became a difficult task. I could never seem to get the results I was looking for out of a flat iron without going to a professional hair salon and
spending $65.00 a visit. I previously used FHI ceramic flat irons which straightened my hair and then left it frizzy again within the next hour. A hairstylist friend of mines suggested the Babyliss Pro
Titanium irons. I purchased them from Amazon for $70 bucks and received them in about 5 days. "A miracle!!" I can't live without them now. My hair goes from frizzy/kinky to silky/straight/shiny in the blink
of an eye. The best part is that it "STAYS" silky and straight until the next time I need to wash and straighten. No gimmic here. I highly recommend them over chi and fhi.
By Anonymous, at 3:22 AM
It’s hard to come by knowledgeable people for this subject, but you sound like you know what you’re talking about! Thanks
By Anonymous, at 9:39 PM
You have shared an amazing article about spray painting. I liked your way to describe your ideas. This blog is very useful for us and it will save our money. If you are looking to buy the Best Commercial Airless Paint Sprayer, Visit Sprayerboss.
By Sprayer Boss, at 4:33 PM
Post a Comment
<< Home